
Pink Velvet Cake

A tender, show-stopping pink velvet layer cake with tangy cream cheese frosting — perfect for celebrations, baby showers, and cozy baking days.
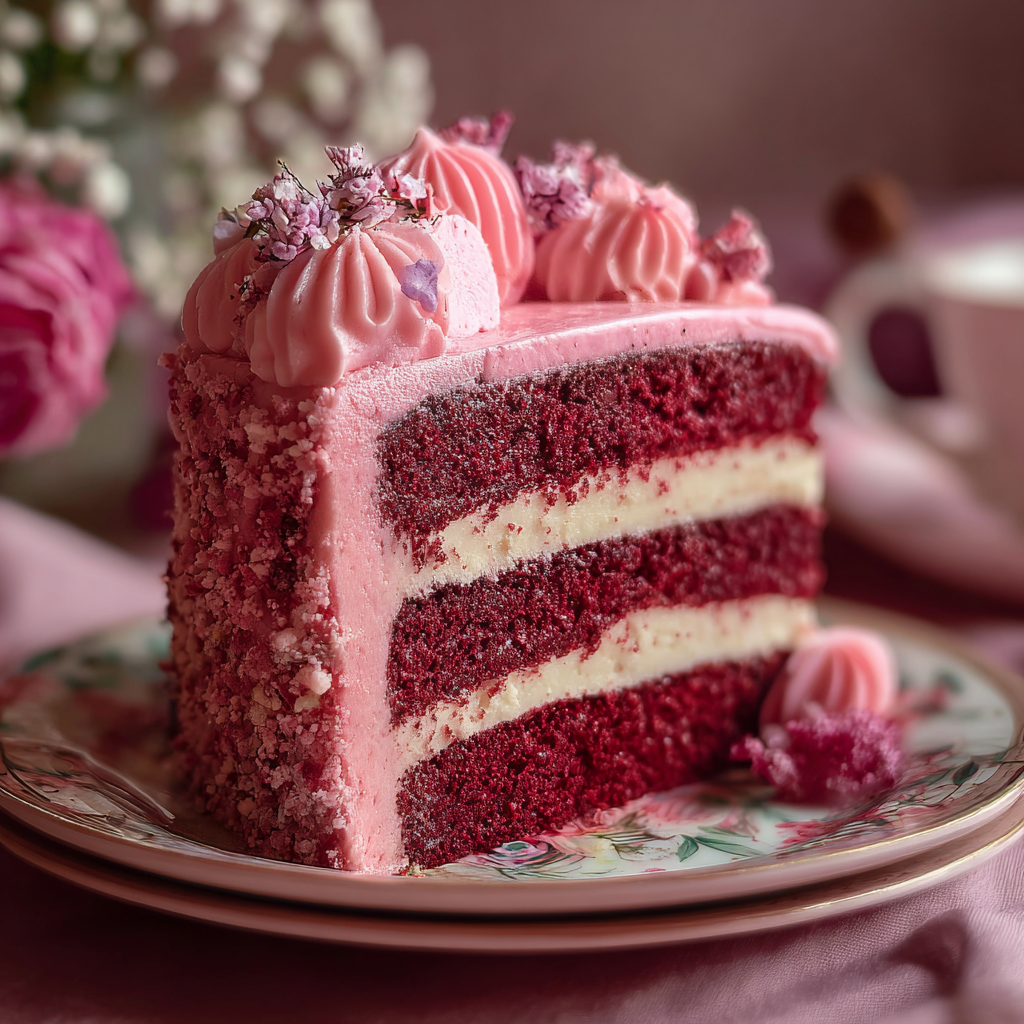
This Pink Velvet Cake began as a celebration centerpiece in my kitchen the day my daughter brought home her first report card with straight A's. I was determined to make something special that felt both whimsical and comforting, and this version — with a tender crumb, subtle vanilla-kissed tang, and a silky cream cheese finish — became our instant favorite. I discovered the balance of acidity, butter, and buttermilk on a rainy afternoon while testing textures; the result rose evenly and stayed moist for days. The pink color is festive yet delicate, and it never feels overly sweet: each slice keeps you coming back for just one more forkful.
I originally developed this for a spring gathering but it quickly earned a permanent spot in my repertoire for birthdays, baby showers, and cozy weekend treats. The crumb is fine and soft because I use cake flour and a light creaming method; the tang from full-fat buttermilk and a spoonful of vinegar helps the crumb set while keeping moisture. The cream cheese frosting stabilizes with a touch of powdered sugar and a little unsalted butter for silkiness. It’s the kind of cake where the texture sings — not too dense, not airy like an angel food cake, but exactly in that golden middle that makes guests smile.
Why You'll Love This Recipe
- Bright, celebration-ready color without artificial intensity — a few drops of gel coloring give consistent results that are easy to control.
- Ready in under 2 hours from start to finish, with most of that time passive (baking and chilling), so it’s great for last-minute gatherings.
- Uses pantry-friendly staples like all-purpose or cake flour, granulated sugar, and plain full-fat buttermilk — no rare ingredients required.
- Make-ahead friendly: the layers can be wrapped and frozen for up to one month; the frosting keeps well refrigerated for 3 days.
- Balanced sweetness and texture: tangy cream cheese frosting complements the lightly sweet crumb for a sophisticated finish that kids and adults love.
- Adaptable for a single 9-inch layer, cupcakes, or a two-tier celebration cake with minor timing adjustments.
When I first served this, neighbors came by just to see the cake and ended up staying for coffee. My family jokes that it has the magical ability to turn any ordinary afternoon into a tiny celebration. Over the years I refined ingredient ratios and mixing technique based on those impromptu feedback sessions, and the version here reflects those small but meaningful improvements.
Ingredients
- All-purpose or cake flour (2 1/2 cups): Cake flour gives a softer crumb; if using all-purpose, whisk in 2 tbsp cornstarch per cup for a lighter texture. I often use Swans Down for consistency.
- Granulated sugar (2 cups): Standard white sugar provides tenderness and stable structure — C&H or Domino are reliable choices.
- Unsalted butter (1/2 cup or 1 stick, softened): Use room-temperature butter for a proper creaming; I prefer Kerrygold or Land O'Lakes for flavor.
- Large eggs (3, room temperature): Eggs add structure and moisture. Bring them to room temperature to aid emulsification and even rise.
- Buttermilk (1 cup, full-fat): Acidity from buttermilk tenderizes the crumb and reacts with baking soda for lift — use cultured buttermilk.
- White vinegar (1 tbsp): Reacts with baking soda for lift and subtle tang; it also helps stabilize the pink hue.
- Baking soda (1 tsp) and baking powder (1 tsp): Both leaveners together ensure an even rise and gentle dome.
- Kosher salt (1/2 tsp): Balances sweetness and amplifies flavor.
- Vanilla extract (1 1/2 tsp): Pure vanilla adds warmth — Nielsen-Massey is my go-to.
- Gel pink food coloring (3–5 drops): Wilton gel offers bright color with no added liquid; add incrementally until you reach the shade you like.
- Cream cheese (8 oz, full-fat, softened) and powdered sugar (3 1/2 cups) for frosting: Use Philadelphia cream cheese for tang and stability; sift powdered sugar to avoid lumps.
- Unsalted butter for frosting (1/4 cup, softened): Adds richness and sheen; keep it soft but not melty to avoid a runny frosting.
- Optional garnish: Fresh berries, edible flowers, or white chocolate shavings to enhance presentation.
Instructions
Prepare and preheat: Preheat oven to 350°F. Grease two 8-inch round pans, line bottoms with parchment, and grease again. Sift flour, baking powder, baking soda, and salt into a bowl so the dry mix is aerated and lump-free. Cream butter and sugar: In a large bowl, beat softened butter and granulated sugar on medium speed for 3–4 minutes until pale and fluffy. Proper creaming traps air, which contributes to lift and a fine crumb; scrape the bowl often. Incorporate eggs and vanilla: Add eggs one at a time, mixing just until combined after each addition to prevent curdling. Stir in vanilla extract and the pink gel color a drop at a time until desired hue is reached. Alternate dry and wet: With mixer on low, add dry ingredients in three parts alternated with two parts buttermilk (dry-wet-dry). Start and end with dry. Mix only until just combined — overmixing develops gluten and toughens the crumb. Add vinegar and pour: Whisk vinegar into remaining tablespoon of buttermilk and fold gently into batter (the quick acid-base reaction gives extra lift). Divide batter evenly between prepared pans and smooth tops. Bake and cool: Bake at 350°F for 22–28 minutes or until a toothpick in the center comes out with moist crumbs but no raw batter. Cool in pans 10 minutes, then invert onto racks to cool completely before frosting. Make frosting and assemble: Beat cream cheese and butter until smooth. Gradually beat in sifted powdered sugar on low, then increase speed until silky. Layer cakes with a generous crumb coat, chill 15 minutes, then finish with a smooth outer layer and decorative piping if desired.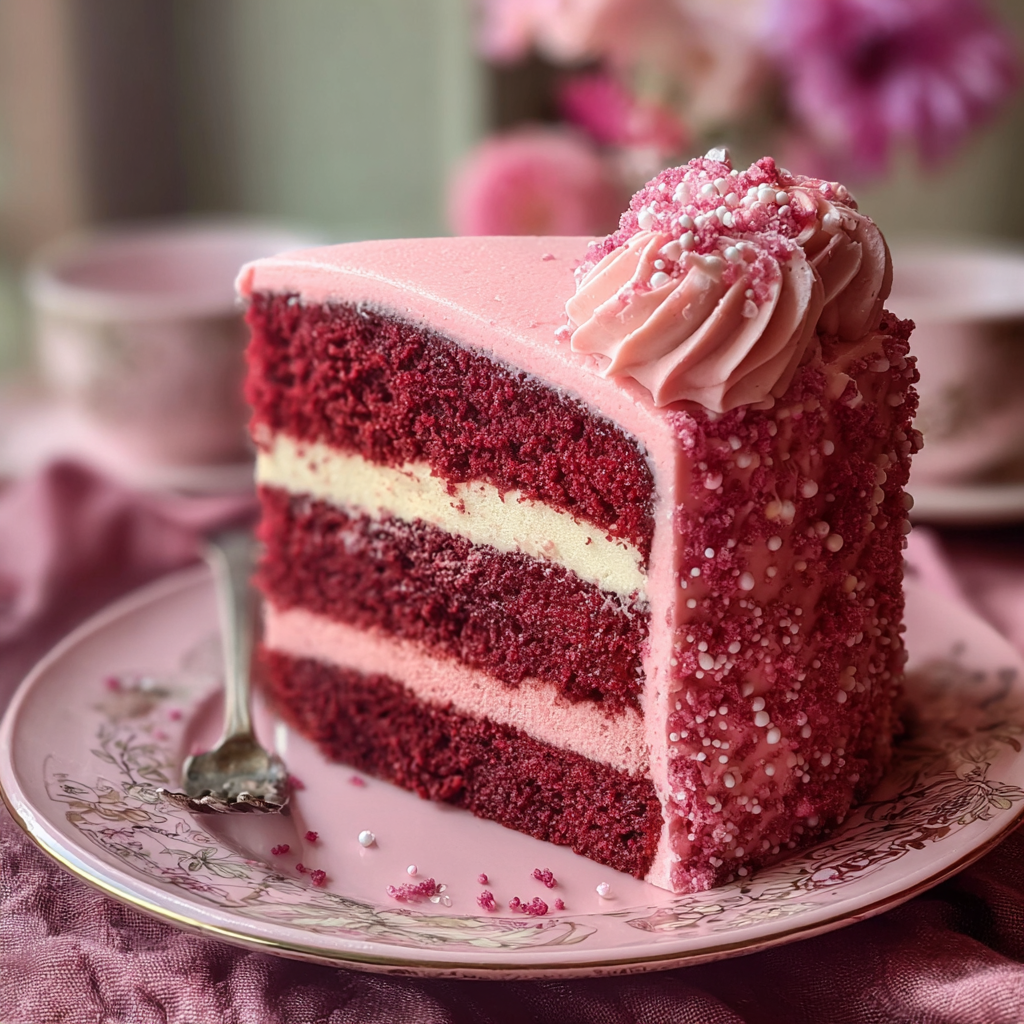
You Must Know
- This cake freezes very well: wrap each cooled layer tightly in plastic and foil; freeze up to 1 month. Thaw in refrigerator overnight before frosting.
- High in energy and carbohydrates per slice — perfect as an occasional celebratory treat rather than everyday eating.
- Store frosted cake refrigerated in an airtight cake carrier for up to 3 days; bring to room temperature 30–60 minutes before serving for best flavor.
- Using gel food coloring prevents extra liquid in the batter, preserving crumb structure and bake time.
- Switch to cupcakes for a shorter bake time (15–18 minutes) and portable portions for parties.
My favorite part of this cake is the texture — it’s reliably tender, and the cream cheese frosting adds a mellow tang that cuts through sweetness. I’ve learned through multiple test batches that temperature control (room-temp eggs and butter) and gentle mixing are the two non-negotiable steps for success. Friends often tell me this is their ideal celebration cake because it looks impressive yet tastes homemade and comforting.
Storage Tips
Once frosted, keep the cake covered in a cake box or an airtight container in the refrigerator for up to 3 days. If you need longer keeping time, freeze unfrosted layers for up to one month; when ready to use, thaw wrapped layers in the refrigerator overnight, then bring to room temperature for easier leveling and frosting. For short-term storage (same day), keep the cake at cool room temperature away from direct sunlight; avoid storing near strong-smelling foods in the fridge because cream cheese absorbs odors. Use parchment rounds between stacked layers to prevent sticking if transporting.
Ingredient Substitutions
If you don’t have cake flour, measure all-purpose flour and remove 2 tablespoons per cup then replace with 2 tablespoons cornstarch to approximate cake flour. For a dairy-free version, use plant-based cream cheese and a non-dairy milk mixed with 1 tablespoon vinegar to mimic buttermilk; note the flavor will be slightly different and the frosting may be a touch softer. If avoiding food coloring, substitute a natural beet powder for subtle pink tones — expect more muted color and slight earthy flavor. For lower sugar, reduce granulated sugar by 10–15% and adjust powdered sugar in frosting to taste, keeping an eye on texture changes.

Serving Suggestions
Serve slices with lightly macerated berries (strawberries or raspberries) to add freshness and a tart contrast to the frosting. Garnish the top with edible flowers for showers or fluttering icing rosettes for birthdays. For a tea party, present small wedges on vintage plates with a dusting of powdered sugar. Pair with a bright coffee or a mild black tea to balance richness. For a seasonal twist, add a spoonful of citrus curd between the layers for spring or a few toasted almond flakes on top for a delightful crunch.
Cultural Background
Velvet cakes have their roots in early 20th-century Southern American baking traditions, prized for their soft crumb and elegant texture. The original red velvet rose to fame with hotels and restaurants that showcased fine dining desserts; pink versions are a playful contemporary adaptation often seen at celebrations and gender-reveal-style events. This modern take keeps the classic chemistry — acidic dairy plus baking soda — while prioritizing lighter color and delicate flavor. Its approachable techniques bridge old-fashioned charm with today's tastes.
Seasonal Adaptations
In spring and summer, brighten the interior with lemon zest or a thin layer of berry compote to add seasonal vibrancy. For winter festivities, fold in 1/4 teaspoon ground cardamom into the batter and top with white chocolate curls for warmth. Holidays can call for flavored frostings — use a teaspoon of espresso for a mocha-kissed finish or stir in a spoonful of orange zest into the frosting for a festive citrus note. Adjust decorations to match seasonal palettes, swapping fresh herbs like mint for spring freshness.
Meal Prep Tips
For make-ahead convenience, bake layers up to 2 days ahead and store wrapped in plastic at cool room temperature, or freeze for longer. Prepare frosting up to 48 hours ahead and refrigerate in an airtight container; bring to room temperature and briefly beat before using to restore spreadable texture. Portion leftover cake into single-serve containers for quick desserts — microwave 10–15 seconds to slightly warm the slice and reactivate aroma. Use shallow, airtight containers to avoid squashing decorations when transporting.
Every time I make this cake I find a new reason to smile: the bright color, the familiar tang of cream cheese, the way guests comment on its texture. It’s a recipe that feels celebratory without fuss, and I hope you enjoy making it as much as we have.
Pro Tips
Always measure flour by spooning it into the cup and leveling with a knife to avoid dense crumb.
Use gel food coloring to avoid extra liquid and preserve texture.
Bring eggs and butter to room temperature to help with emulsification and even rise.
Chill the cake briefly after a crumb coat to make the final frosting layer easier and cleaner.
This nourishing pink velvet cake recipe is sure to be a staple in your kitchen. Enjoy every moist, high protein slice — it is perfect for breakfast or as a wholesome snack any time.
FAQs about Recipes
Can I make the layers in advance?
Yes — freeze unfrosted layers wrapped tightly for up to 1 month; thaw in the refrigerator overnight before frosting.
How long before serving should I remove the cake from the fridge?
Bring refrigerated cake to room temperature for 30–60 minutes before serving for best texture and flavor.
Tags
Pink Velvet Cake
This Pink Velvet Cake recipe makes perfectly juicy, tender, and flavorful steak every time! Serve with potatoes and a side salad for an unforgettable dinner in under 30 minutes.
Ingredients
Cake
Frosting
Garnish (optional)
Instructions
Prepare pans and dry ingredients
Preheat oven to 350°F. Grease two 8-inch pans and line with parchment. Sift together flour, baking powder, baking soda, and salt.
Cream butter and sugar
Beat butter and sugar on medium speed until pale and fluffy, about 3–4 minutes, scraping bowl to ensure even aeration.
Add eggs, vanilla, and color
Add eggs one at a time, mixing gently after each. Stir in vanilla and gel coloring to reach desired shade.
Alternate dry and wet ingredients
Add dry ingredients in three parts alternated with two parts buttermilk, mixing on low and avoiding overmixing.
Bake
Divide batter evenly and bake 22–28 minutes at 350°F until a toothpick shows moist crumbs but no raw batter. Cool 10 minutes in pans, then transfer to racks.
Frost and assemble
Beat cream cheese and butter until smooth, add powdered sugar gradually. Layer and frost cake, chill briefly for a clean finish.
Last Step: Please leave a rating and comment letting us know how you liked this recipe! This helps our business to thrive and continue providing free, high-quality recipes for you.
Nutrition
Did You Make This?
Leave a comment & rating below or tag
@flavordaisy on social media!
Categories:
You might also like...

Air Fryer Buffalo Cauliflower
Crispy battered cauliflower tossed in tangy Buffalo sauce — a spicy, vegetarian party favorite that's easy to make in the air fryer.
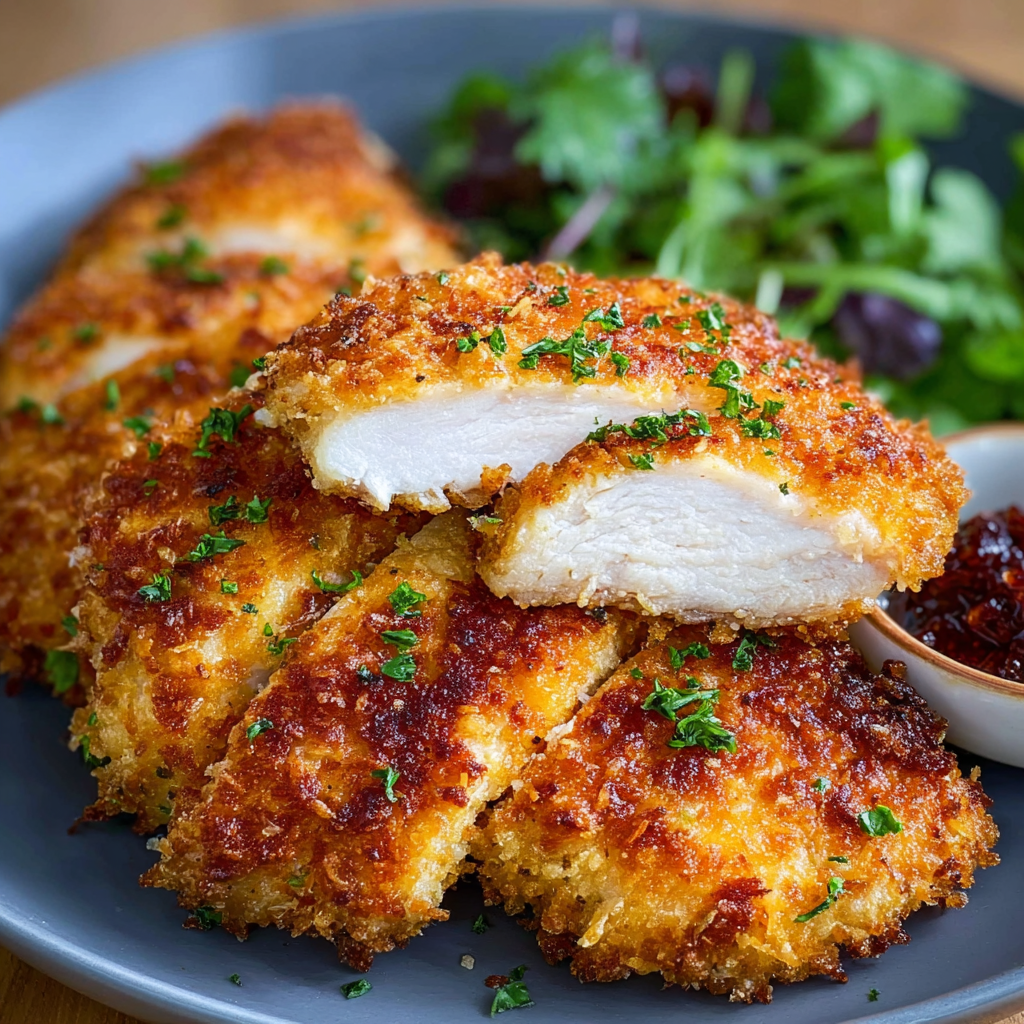
Air Fryer Parmesan Crusted Chicken
Crispy, golden air fryer chicken coated in a crunchy Parmesan-panko crust — a quick, family-friendly dinner that's juicy inside and perfectly seasoned.
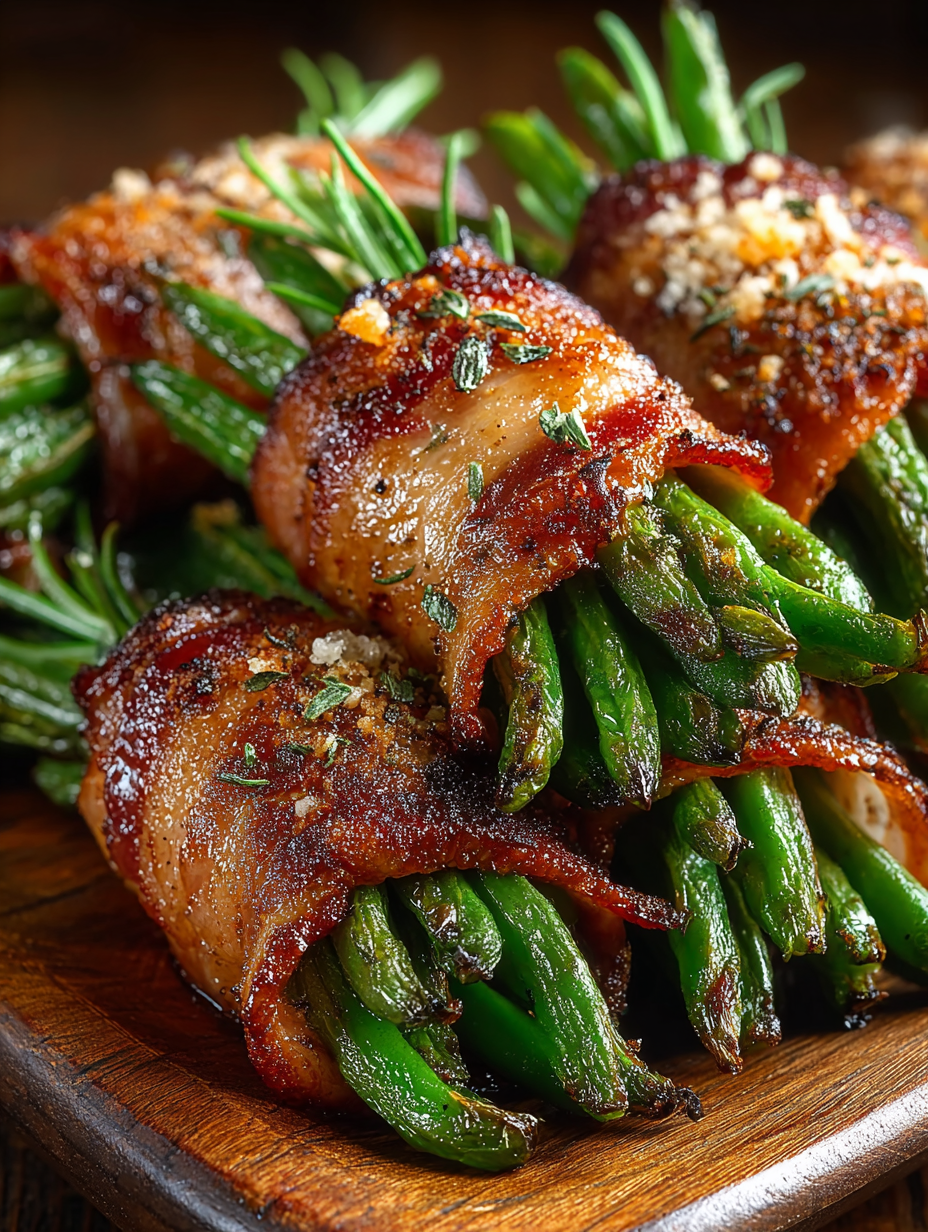
Bacon Wrapped Green Bean Bundles
Crisp tender green beans wrapped in savory bacon and finished with an optional sweet soy glaze. Perfect for parties and holiday spreads.
Did You Make This?
Leave a comment & rating below or tag @flavordaisy on social media!
Rate This Recipe
Share This Recipe
Enjoyed this recipe? Share it with friends and family, and don't forget to leave a review!
Comments (1)
This recipe looks amazing! Can't wait to try it.
Comments are stored locally in your browser. Server comments are displayed alongside your local comments.

Hi, I'm Chef!
What's Popular
30-Minute Meals!
Join to receive our email series which contains a round-up of some of our quick and easy family favorite recipes.