
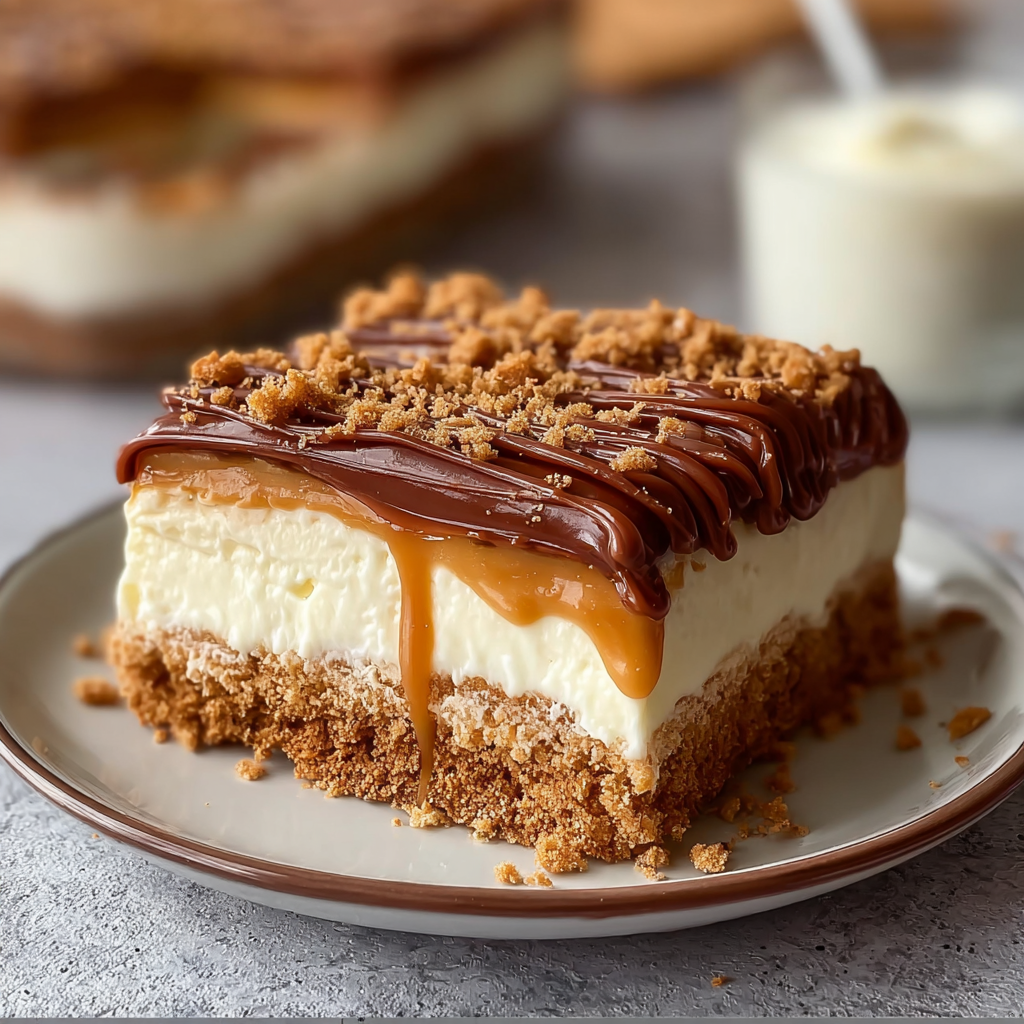
No-Bake Biscoff Layered Delight

A luscious, no-bake layered dessert featuring crunchy Biscoff base, silky cookie butter filling, whipped cream layers and a caramelized Biscoff crumble—perfect for parties or an indulgent weeknight treat.

This No-Bake Biscoff Layered Delight is one of those recipes that arrives in your life like a tiny celebration. I discovered it during a rainy weekend when I wanted something impressive but simple to put together for a small gathering. The result was a dessert that felt refined yet unfussy: crisp cookie layers, a silken cookie butter filling, light whipped cream, and a caramelized crumble on top. The textures are what make it memorable. Each spoonful delivers a crunchy, creamy, and slightly spiced bite that keeps you coming back for more. I first served it to friends who declared it party-worthy and asked for the recipe, which is the highest compliment in my kitchen.
What I love most is how this recipe balances convenience with gourmet flavor. There is no oven involved; the dessert is assembled in a dish and chilled until perfectly set. That means you can do most of the work ahead of time and free up the day for other things. It is also endlessly adaptable. Use homemade cookie butter, swap to a lighter whipped topping, or make it in individual jars for a charming presentation. The fragrance of cinnamon and caramelized cookie crumbs filling the kitchen is one of those small pleasures that will make this a repeat favorite in your household.
Why You'll Love This Recipe
- Ready without an oven and assembled in under 30 minutes active time, making it ideal for busy hosts and last-minute celebrations.
- Uses pantry-friendly ingredients such as store-bought Biscoff cookies and canned sweetened condensed milk for fast, reliable results.
- Layered textures combine crunchy, creamy, and airy elements for broad appeal from kids to grown-ups.
- Make-ahead friendly: assemble up to 48 hours in advance and chill until serving, so you can focus on company instead of the oven.
- Visually impressive when sliced, yet approachable; no advanced pastry skills required to get great results.
I served this at a small brunch and watched it disappear faster than anything else on the table. Family and friends loved the nostalgic cookie flavor with a grown-up twist from the whispered cinnamon and sea salt. Making it taught me that a few smart layers and attention to texture can turn simple ingredients into something unforgettable.
Ingredients
- Main base: Biscoff cookies — Use a full sleeve (about 14 ounces) of Lotus Biscoff cookies or a similar speculoos biscuit. The cookie's caramelized notes are essential; choose a fresh package for maximum crunch.
- Butter: Unsalted butter — 6 tablespoons melted to bind the crumb base and add richness. Use a high-quality butter like Kerrygold for a cleaner, creamier taste.
- Cookie butter filling: Cookie butter (Biscoff spread) — 1 cup of smooth cookie butter provides that signature flavor and velvety texture. If brand choices are available, choose the original Lotus spread for authenticity.
- Sweet binder: Sweetened condensed milk — 1/2 cup to lightly sweeten and slightly loosen the cookie butter for easier spreading. Use whole milk sweetened condensed milk for the best mouthfeel.
- Cream layer: Heavy whipping cream — 2 cups chilled, whipped to soft peaks with 2 tablespoons powdered sugar and 1 teaspoon vanilla for a stable but airy layer.
- Topping: Extra cookies & brown sugar — 6 crushed cookies mixed with 2 tablespoons brown sugar and 1 tablespoon melted butter, briefly pan-toasted for a caramelized crumble that adds a crunchy finish.
Instructions
Prepare the base: Line a 9 by 5-inch loaf pan with parchment paper, leaving an overhang. Place about 10 ounces of Biscoff cookies in a food processor and pulse to fine crumbs. Pour in 6 tablespoons melted unsalted butter and pulse until the mixture resembles wet sand. Press evenly into the bottom of the prepared pan using the back of a measuring cup, compacting firmly to create a stable base. Chill for 10 minutes to set. Make the cookie butter filling: In a medium bowl, whisk 1 cup cookie butter with 1/2 cup sweetened condensed milk until glossy and smooth. If the spread is very thick, warm slightly in 10-second bursts in the microwave, whisking between bursts, until spreadable but not hot. Pour over the chilled base and spread carefully to an even layer. Return to the fridge while you prepare the cream. Whip the cream: Chill a mixing bowl and whisk attachment for 10 minutes if possible. Pour 2 cups cold heavy whipping cream with 2 tablespoons powdered sugar and 1 teaspoon vanilla into the bowl. Whip on medium-high speed until soft to medium peaks form. Stop before it becomes grainy; you want fluffy stability so the final assembly holds shape. Assemble layers: Gently spread half the whipped cream over the cookie butter layer, smoothing with an offset spatula. Add a thin layer of crushed cookie crumbs if desired for contrast. Repeat with another thin cookie butter swipe if you like more filling depth, then top with the remaining whipped cream. Smooth the final layer and refrigerate for at least 4 hours, preferably overnight, to allow the layers to set and flavors to meld. Create the caramelized crumble: Combine 6 crushed cookies with 2 tablespoons dark brown sugar and 1 tablespoon melted butter in a small skillet over medium heat. Stir constantly for 3 to 4 minutes until the sugar dissolves and the crumbs begin to caramelize. Remove from heat and cool slightly. Sprinkle evenly over the chilled dessert just before serving to preserve crunch. Slice and serve: Use the parchment overhang to lift the set dessert from the pan. Transfer to a cutting board and slice with a sharp knife dipped in hot water and wiped dry between cuts for clean edges. Serve chilled with an optional drizzle of warm cookie butter and a pinch of flaky sea salt for a professional finish.
You Must Know
- Chill time is essential: at least 4 hours in the refrigerator, overnight is best for clean slices and set layers.
- Use full-fat ingredients for better texture and stability; low-fat swaps can result in a soupy or weeping top layer.
- Assemble with chilled tools: cold bowls and chilled cream whip faster and hold peaks longer.
- The caramelized crumble must be added at the last minute to retain crunch; it softens quickly against chilled cream.
My favorite part is watching the cookie butter layer soften the crumb base just enough to marry textures without turning soggy. Friends comment on the visible layers and the contrast between the airy cream and dense cookie butter. This dish feels both nostalgic and modern, bringing together simple ingredients into an elegant presentation that performs well across occasions.
Storage Tips
Store leftovers covered with plastic wrap or in an airtight container in the refrigerator for up to 4 days. For the best texture, keep the caramelized crumble separate and sprinkle on individual slices just before serving; if left on, it will absorb moisture and lose its crunch after a day. If you must freeze, wrap tightly in plastic and again in foil, then freeze for up to 1 month. Thaw in the refrigerator overnight and refresh the top with a quick sprinkle of toasted crumbs to revive texture. Avoid leaving this dessert at room temperature for extended periods because the cream will soften quickly.
Ingredient Substitutions
If Biscoff is unavailable, use any speculoos-style cookie or a mildly spiced ginger cookie for a similar profile; digestives or graham crackers create a different, less spiced character. For a dairy-free version, substitute coconut cream whipped with a stabilizer, and use a vegan cookie butter alternative. Replace sweetened condensed milk with 1/4 cup maple syrup and 1 tablespoon melted coconut oil for a different sweetness profile, though texture will vary slightly. To cut sweetness, reduce powdered sugar in the whipped cream by 1 tablespoon, or fold in a small amount of mascarpone for extra richness and stability.
Serving Suggestions
Serve slices on small dessert plates garnished with a thin cookie shard and a drizzle of warmed cookie butter or salted caramel. Pair with strong coffee or spiced tea to balance sweetness. For a brunch menu, offer alongside fresh berries to add brightness and a citrusy component. For parties, assemble this dessert in a shallow glass trifle dish or in individual jars for easy portioning. A scattering of toasted chopped hazelnuts adds a satisfying contrast and pairs beautifully with the caramel and speculoos notes.
Cultural Background
Biscoff cookies, originally from Belgium, have gained international popularity for their caramelized, spiced flavor profile. The tradition of combining crumb bases with creamy layers is common across European desserts; this layered approach translates those classical ideas into a no-bake context. The use of cookie butter is a nod to modern pantry creativity, transforming a beloved spread into a silky filling. This dessert is a contemporary reinterpretation of layered European treats with an American emphasis on convenience and presentation.
Meal Prep Tips
This dessert is a champ for meal prep. Prepare the crumb base and cookie butter filling up to two days ahead and refrigerate covered. Whip the cream the morning you plan to serve and assemble an hour before guests arrive, or finish the day before and keep chilled. Portion into individual jars for grab-and-go desserts; jars keep well for up to 48 hours and make transport to gatherings simple. Bring extra crushed cookies and a small container of cookie butter to refresh the top immediately before serving if you are transporting long distances.
Making this No-Bake Biscoff Layered Delight is a little act of hospitality that rewards you with compliments and repeat requests. It is approachable, adaptable, and deeply satisfying—a modern classic worth keeping in your repertoire.
Pro Tips
Chill the bowl and whisk before whipping cream for faster, more stable peaks.
Use a hot, dry knife wiped between cuts to get clean slices from chilled desserts.
Keep the crunchy topping separate and add it just before serving to retain texture.
This nourishing no-bake biscoff layered delight recipe is sure to be a staple in your kitchen. Enjoy every moist, high protein slice — it is perfect for breakfast or as a wholesome snack any time.
Tags
Recipe data validation failed
Please check the recipe data format. See console for details.
Categories:
You might also like...

Air Fryer Buffalo Cauliflower
Crispy battered cauliflower tossed in tangy Buffalo sauce — a spicy, vegetarian party favorite that's easy to make in the air fryer.
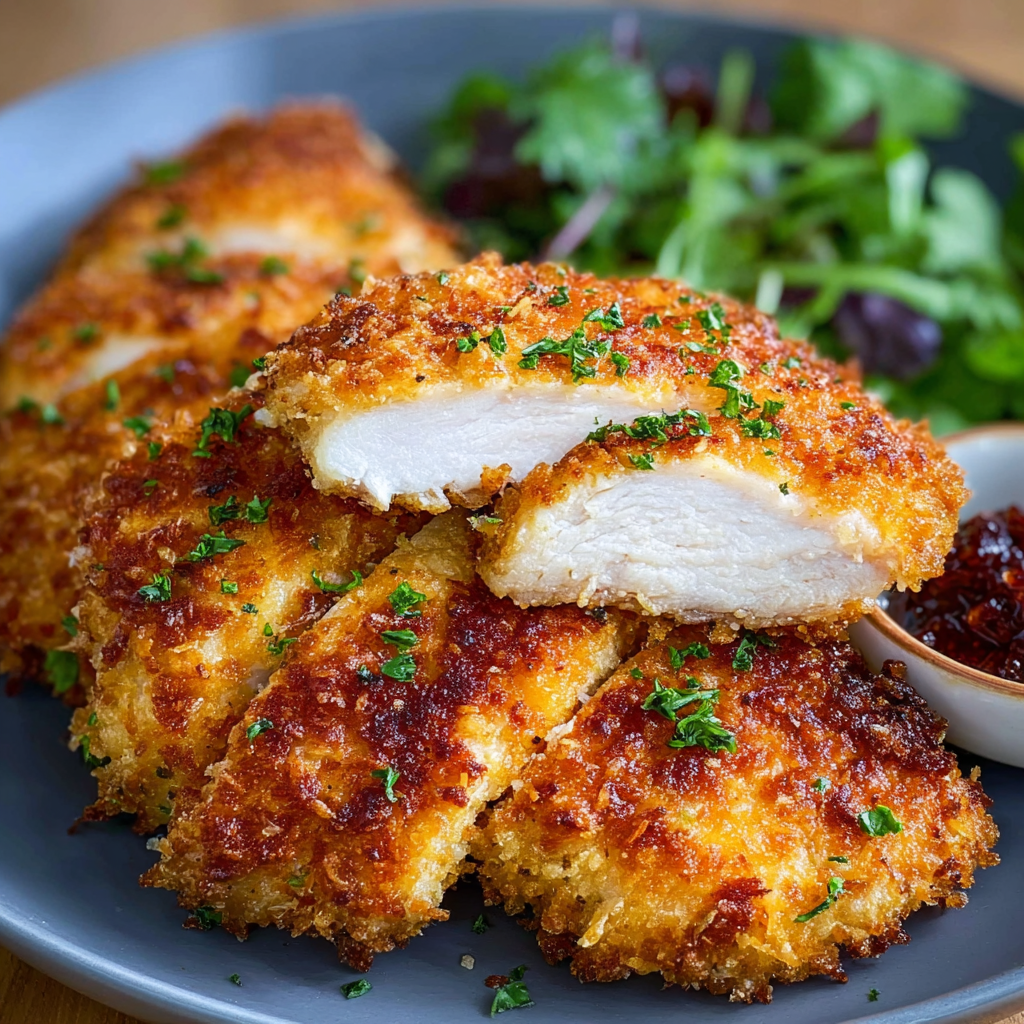
Air Fryer Parmesan Crusted Chicken
Crispy, golden air fryer chicken coated in a crunchy Parmesan-panko crust — a quick, family-friendly dinner that's juicy inside and perfectly seasoned.
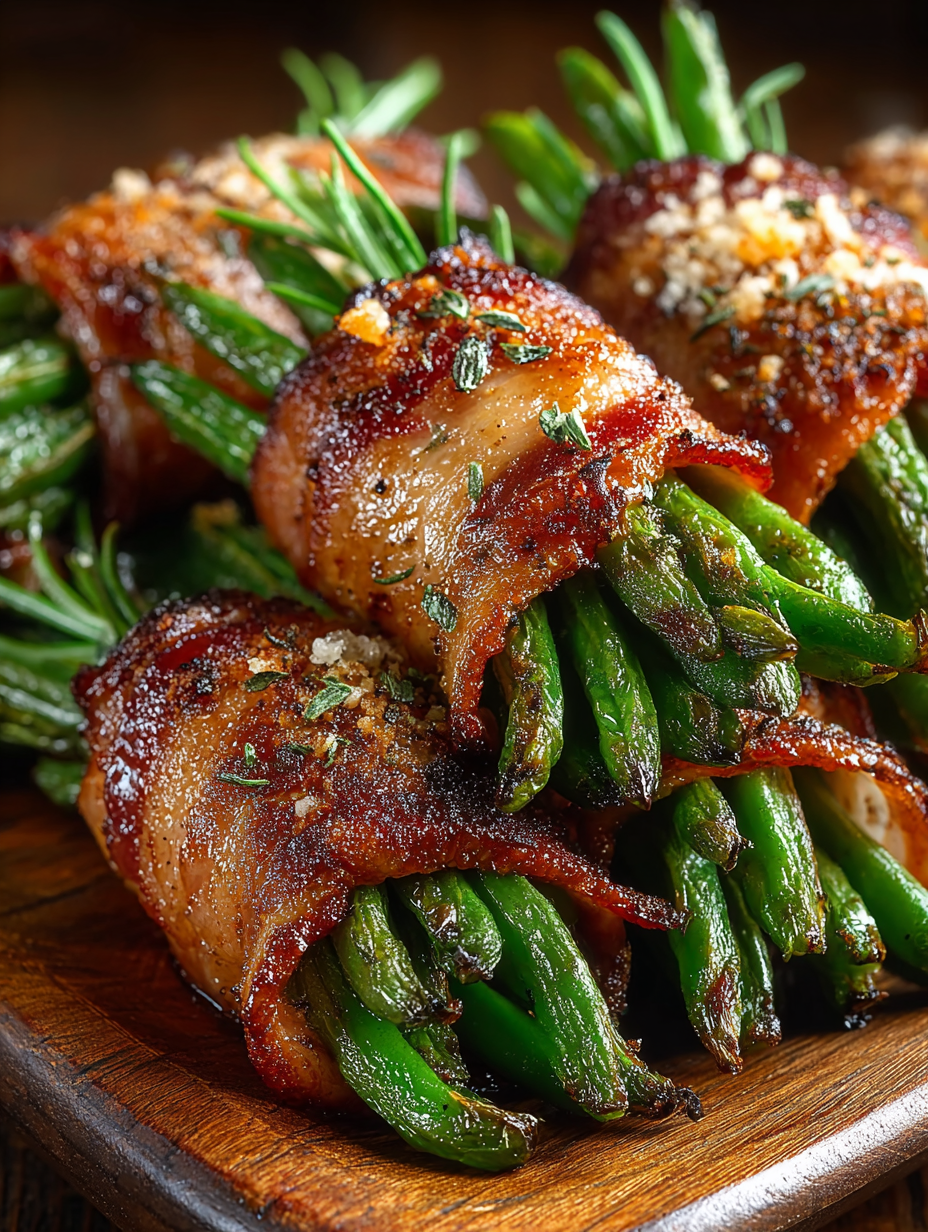
Bacon Wrapped Green Bean Bundles
Crisp tender green beans wrapped in savory bacon and finished with an optional sweet soy glaze. Perfect for parties and holiday spreads.
Did You Make This?
Leave a comment & rating below or tag @flavordaisy on social media!
Rate This Recipe
Share This Recipe
Enjoyed this recipe? Share it with friends and family, and don't forget to leave a review!
Comments (1)
This recipe looks amazing! Can't wait to try it.
Comments are stored locally in your browser. Server comments are displayed alongside your local comments.

Hi, I'm Chef!
What's Popular

30-Minute Meals!
Join to receive our email series which contains a round-up of some of our quick and easy family favorite recipes.