
Cottage Cheese Wraps

Thin, high-protein wraps made from blended full-fat cottage cheese and eggs — a simple, versatile base for savory fillings and quick meal prep.

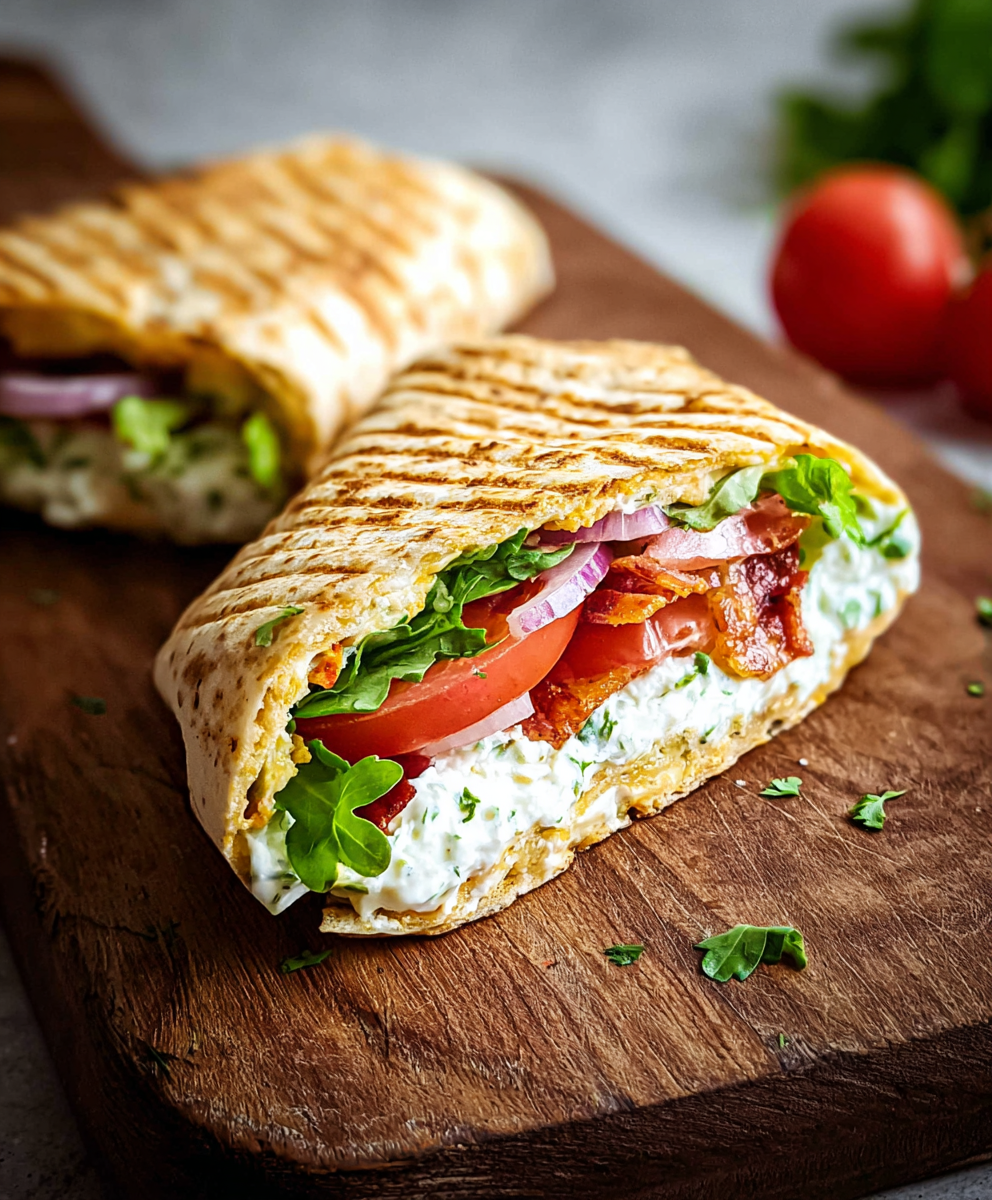
This simple cottage cheese wrap has become my go-to when I want a quick, high-protein vessel for sandwiches, breakfast rolls, or light dinners. I first stumbled onto the technique one weekend when my fridge was low on flour and heavy on dairy: a cup of full-fat cottage cheese and a couple of eggs were the backbone of an experiment that turned into a textural revelation. The finished wrap is tender yet sturdy, with a faint tang from the cheese and a delicate golden surface that crisps slightly at the edges. It folds around fillings without tearing and keeps sandwiches compact and satisfying.
I love how adaptable this approach is. It’s fast enough for weekday mornings, healthy enough to pack for lunches, and neutral enough to carry bold flavors — think roasted vegetables, smoky turkey, or a bright Mediterranean salad. The process is largely hands-off: blend until silky, spread thin, bake until set, then cool. Cooling is crucial; the wrap firms up and releases cleanly from the parchment when fully cooled, making assembly much easier. Over time I’ve refined timing and spread technique so every batch lifts off perfectly and holds up under generous fillings.
Why You'll Love This Recipe
- High in protein and naturally low in carbohydrates — each wrap provides a satisfying base without the heaviness of traditional flatbreads.
- Ready with minimal active time: about 10 minutes to mix and spread, then a hands-off 30–35 minutes in the oven.
- Uses pantry and fridge staples — cottage cheese, eggs, and a little Parmesan deliver structure and flavor.
- Make-ahead friendly: bake in batches and refrigerate or freeze for quick meals during the week.
- Customizable — the neutral flavor profile means it pairs with sweet or savory fillings and adapts to dietary needs.
- Great for crowd-friendly spreads: cut into smaller pieces for parties or roll into full-size wraps for grab-and-go servings.
My family’s reaction the first time I served these was immediate: surprised delight. The texture reminded my partner of a thin omelet but with a silkier mouthfeel from the cottage cheese. Over several tests I adjusted the spread thickness and bake time to strike the balance between pliability and structural integrity — now we can load a wrap with vegetables, protein, and sauce without it collapsing.
Ingredients
- Full-fat cottage cheese (1 cup): Choose a creamy, small-curd variety for the smoothest blend; brands like Daisy or Breakstone work well. Avoid watery or low-fat tubs that can thin the batter — drain briefly if excessively wet.
- Large eggs (2): Provide lift and binding. Use room-temperature eggs for quicker emulsification in the blender and a more uniform texture.
- Grated Parmesan (4 tbsp): Adds umami and helps dry the batter slightly so the finished wrap holds together. Freshly grated Parmigiano-Reggiano yields the best flavor and melt behavior.
- Garlic powder (1 tsp): Gives a gentle savoury note that plays well with sandwich fillings; adjust to taste or sub with onion powder.
- Italian seasoning (1 tsp): A blend of dried basil, oregano, and thyme adds a Mediterranean lift — omit for a neutral wrap or swap for za’atar for a different profile.
Instructions
Preheat and prepare: Set the oven to 350°F (175°C) and line a large baking sheet with parchment paper. Use a tray at least 12 x 16 inches so you can spread a thin, rectangular batter. A silicone baking mat can work, but parchment helps peel the wrap cleanly after cooling. Blend to a silky batter: Combine the cottage cheese, eggs, grated Parmesan, garlic powder, and Italian seasoning in a blender or food processor. Blend for 45–60 seconds until the mixture is homogenous and silky — no visible curds. If your cottage cheese is very wet, pulse and drain excess whey through a fine sieve first to avoid a runny batter. Spread thin and even: Pour the blended mixture onto the prepared tray and use a silicone spatula to spread it into a thin, uniform rectangle (aim for about 1/8 to 1/4 inch thick). Work quickly; an even thickness ensures consistent baking and prevents some areas from overcooking while others remain soft. Bake until set: Bake in the center of the oven for 30–35 minutes, or until the top looks set and shows light golden color at the edges. Ovens vary — if it still jiggles in the center after 35 minutes, give it another 3–5 minutes. Avoid overbrowning, which can make the wrap brittle. Cool completely: Remove from the oven and let the sheet cool on a wire rack until the wrap is room temperature and firm to the touch. Cooling is the step that allows the wrap to set and release easily from the parchment — peeling too soon will cause tearing. Peel, cut, and fill: Carefully peel the wrap off the parchment and place it on a cutting board. Cut into two large rectangles or multiple smaller pieces. Fill with your favorite combos: greens, avocado, smoked salmon, or roasted veggies. Roll or fold and serve immediately or refrigerate for later use.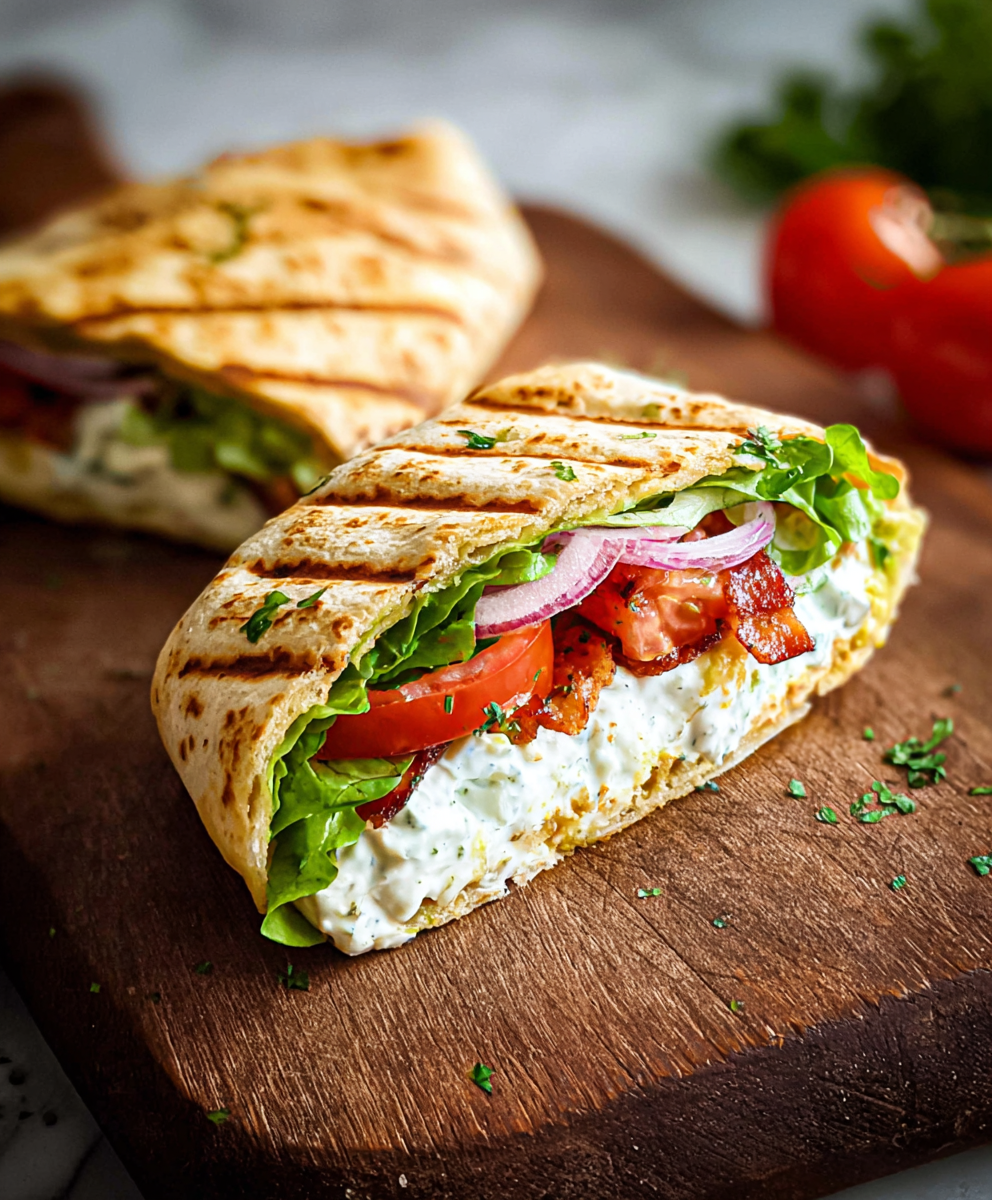
You Must Know
- The wraps are high in protein and low in carbs — they keep well refrigerated for 3 days and freeze for up to 3 months when wrapped tightly in plastic.
- Cooling fully is essential: the batter firms as it cools, and this prevents tearing when peeling from parchment.
- If the batter is too runny, add an extra tablespoon or two of grated Parmesan and spread slightly thicker; this improves structural integrity.
- These are naturally gluten-free and adaptable for vegetarians, but not suitable for vegans or those with dairy/egg allergies unless substitutions are made.
- Use parchment and a silicone spatula to spread; metal spatulas can tear the thin batter and create holes.
My favorite aspect is the way the texture balances pliability and strength — it folds without falling apart, which was a pleasant surprise on the first test weekend. Friends who tried it loved the clean ingredient list and the way strong fillings, like spicy harissa or tangy pickled onions, were tamed and contained by the wrap. Over the years I’ve served these at brunches, packed them for road trips, and used leftover baked rectangles as quick pizza bases with a drizzle of tomato sauce and melted cheese.
Storage Tips
Store baked wraps in an airtight container or wrapped tightly in plastic wrap in the refrigerator for up to 3 days. For longer storage, stack single wraps separated by parchment and freeze in a resealable bag for up to 3 months. To reheat, thaw in the fridge overnight and warm in a nonstick skillet over medium heat for 1–2 minutes per side or microwave for 20–30 seconds — avoid overheating which makes them rubbery. For best texture, reheat gently and assemble fresh fillings after warming.
Ingredient Substitutions
If you need to swap ingredients, use low-sodium ricotta (1 cup) in place of cottage cheese but expect a slightly creamier, less tangy wrap; reduce added salt accordingly. For a dairy-free and egg-free approach, use a chickpea flour batter to mimic a thin flatbread — the technique changes (pan-fry rather than bake) but the concept of a protein-forward wrap remains. To firm up a wetter batter, add 1–2 tbsp of grated hard cheese or 1 tbsp of almond flour.
Serving Suggestions
These wraps shine with Mediterranean fillings — hummus, roasted peppers, baby spinach, and kalamata olives — or with breakfast fillings like scrambled eggs, sautéed mushrooms, and a smear of pesto. For lighter lunches, stack thinly sliced turkey, arugula, and cranberry mustard. Garnish with fresh herbs (parsley, basil) and a drizzle of good olive oil. Cut smaller pieces and serve as finger food for parties, or roll tightly and slice into pinwheels for appetizers.
Cultural Background
The idea of using dairy and egg batters to make thin breads or wrappers has long roots in cuisines that emphasize eggs and cheese, resembling omelet-based wraps or Italian farinata techniques where simple batters become flexible vessels. This particular cottage cheese approach is a modern adaptation, born from low-carb and high-protein trends and an interest in making grain-free alternatives that still feel familiar and sandwich-ready.
Seasonal Adaptations
In spring and summer, fill with bright ingredients like sliced radishes, cucumber ribbons, fresh herbs, and citrus-marinated salmon. In autumn and winter, warm fillings such as roasted squash, caramelized onions, and goat cheese make the wrap comforting. Holiday variations include stuffing with roasted turkey, cranberry relish, and a smear of gravy-thinned mayo for an unusual but delicious festive roll.
Meal Prep Tips
Make a double batch on the weekend and store individual wraps separated by parchment for quick lunches. Pack fillings separately and assemble just before eating to prevent sogginess. For freezer-friendly prep, roll wraps tightly with fillings like cooked chicken and roasted vegetables in parchment, then freeze; thaw in the fridge and warm gently before serving. Label and date all frozen portions to rotate them easily.
These cottage cheese wraps are a small innovation that opens a lot of possibilities. They’re forgiving, quick to make, and endlessly adaptable — once you get the baking rhythm right, you’ll start swapping fillings every week. Enjoy experimenting and making them your own.
Pro Tips
If your cottage cheese is watery, drain it in a fine sieve for 10 minutes to avoid a runny batter.
Spread the batter evenly to a consistent thickness (about 1/8–1/4 inch) to ensure uniform baking.
Cool the baked wrap completely on the tray before peeling to prevent tearing and improve texture.
Use freshly grated Parmesan for better flavor and structure compared with pre-grated blends.
This nourishing cottage cheese wraps recipe is sure to be a staple in your kitchen. Enjoy every moist, high protein slice — it is perfect for breakfast or as a wholesome snack any time.
FAQs about Recipes
Why does my wrap tear when I try to remove it?
Let the wrap cool completely on the tray before attempting to peel it away from the parchment — this step firms it up and makes removal easy.
Can I freeze the wraps?
Yes. Bake and cool the wraps, then stack separated by parchment and store in the freezer for up to 3 months. Thaw in the fridge overnight before reheating gently.
Tags
Cottage Cheese Wraps
This Cottage Cheese Wraps recipe makes perfectly juicy, tender, and flavorful steak every time! Serve with potatoes and a side salad for an unforgettable dinner in under 30 minutes.
Ingredients
Base
Instructions
Preheat and prepare
Preheat oven to 350°F (175°C). Line a large baking sheet with parchment paper to prevent sticking and ensure easy removal after cooling.
Blend ingredients
Combine the cottage cheese, eggs, grated Parmesan, garlic powder, and Italian seasoning in a blender or food processor. Blend for about 45–60 seconds until a silky, uniform batter forms. Drain cottage cheese first if excessively watery.
Spread batter
Pour the blended mixture onto the prepared tray and use a silicone spatula to spread it into an even, thin rectangle roughly 1/8–1/4 inch thick. Ensure edges are not thicker than the center.
Bake until set
Bake in the center of the oven for 30–35 minutes, or until the top is set and lightly golden at the edges. If the center still jiggles after 35 minutes, allow an additional 3–5 minutes.
Cool and peel
Cool completely on the tray until room temperature and firm to the touch. Carefully peel the wrap off the parchment — cooling prevents tearing and allows clean removal.
Cut and fill
Cut into 2 sections or multiple smaller pieces. Fill with desired ingredients such as roasted vegetables, smoked salmon, greens, or sliced turkey. Roll or fold and serve.
Last Step: Please leave a rating and comment letting us know how you liked this recipe! This helps our business to thrive and continue providing free, high-quality recipes for you.
Nutrition
Did You Make This?
Leave a comment & rating below or tag
@flavordaisy on social media!
Categories:
You might also like...

Air Fryer Buffalo Cauliflower
Crispy battered cauliflower tossed in tangy Buffalo sauce — a spicy, vegetarian party favorite that's easy to make in the air fryer.
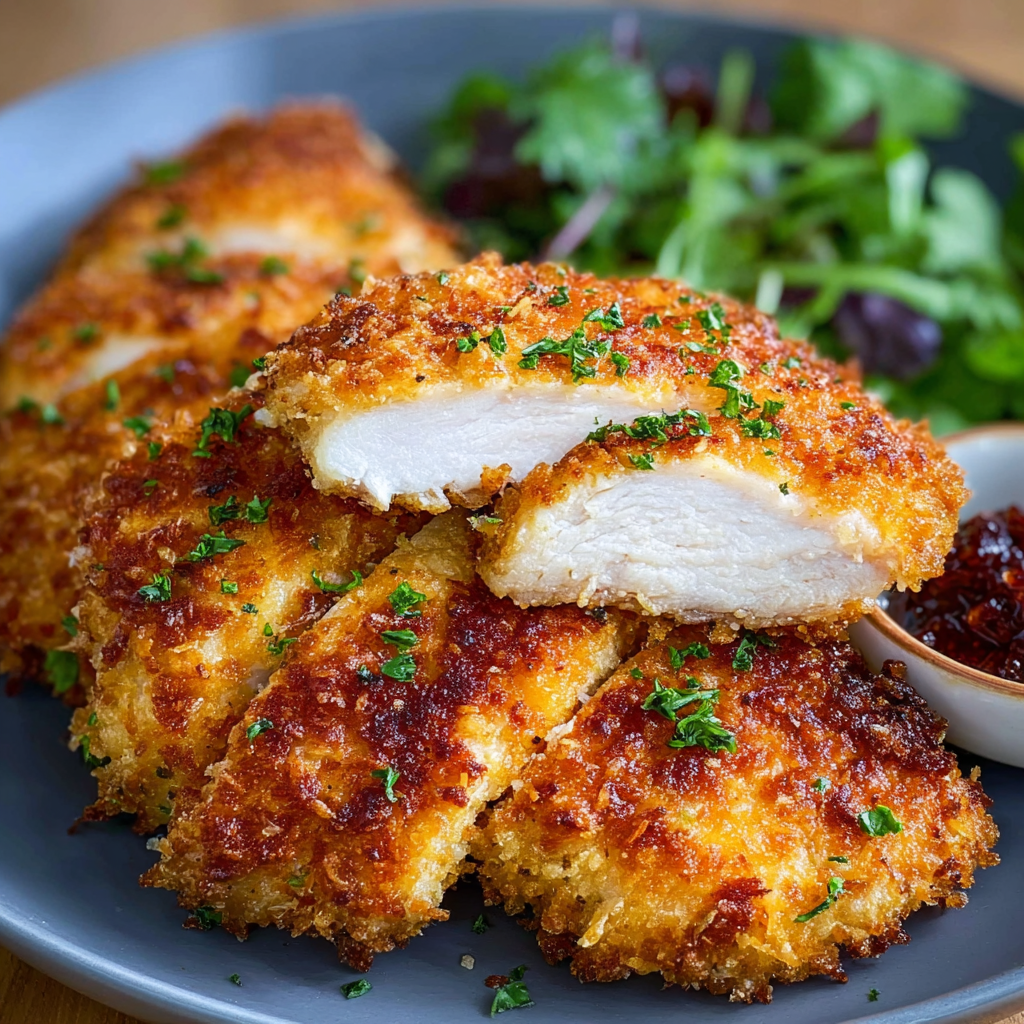
Air Fryer Parmesan Crusted Chicken
Crispy, golden air fryer chicken coated in a crunchy Parmesan-panko crust — a quick, family-friendly dinner that's juicy inside and perfectly seasoned.
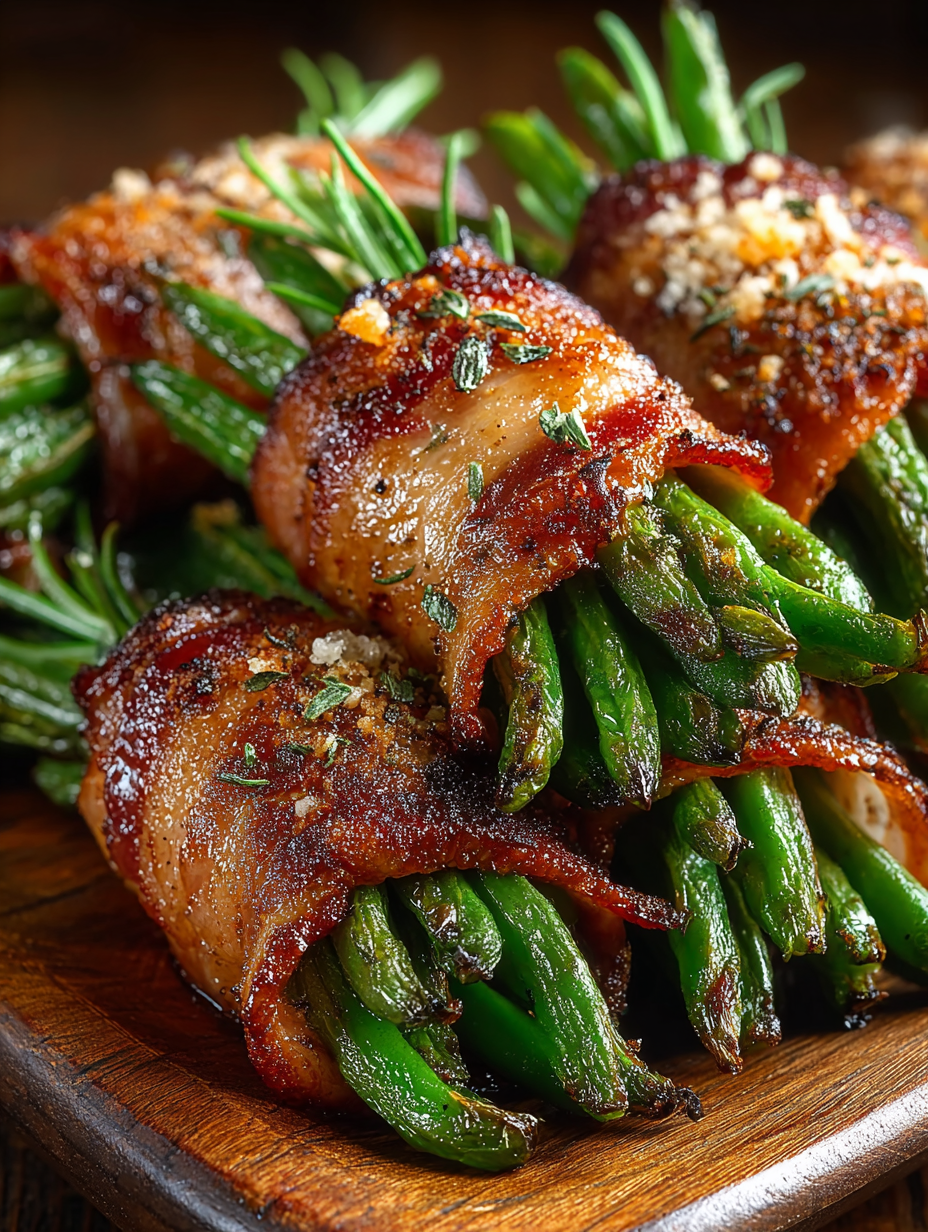
Bacon Wrapped Green Bean Bundles
Crisp tender green beans wrapped in savory bacon and finished with an optional sweet soy glaze. Perfect for parties and holiday spreads.
Did You Make This?
Leave a comment & rating below or tag @flavordaisy on social media!
Rate This Recipe
Share This Recipe
Enjoyed this recipe? Share it with friends and family, and don't forget to leave a review!
Comments (1)
This recipe looks amazing! Can't wait to try it.
Comments are stored locally in your browser. Server comments are displayed alongside your local comments.

Hi, I'm Chef!
What's Popular

30-Minute Meals!
Join to receive our email series which contains a round-up of some of our quick and easy family favorite recipes.