
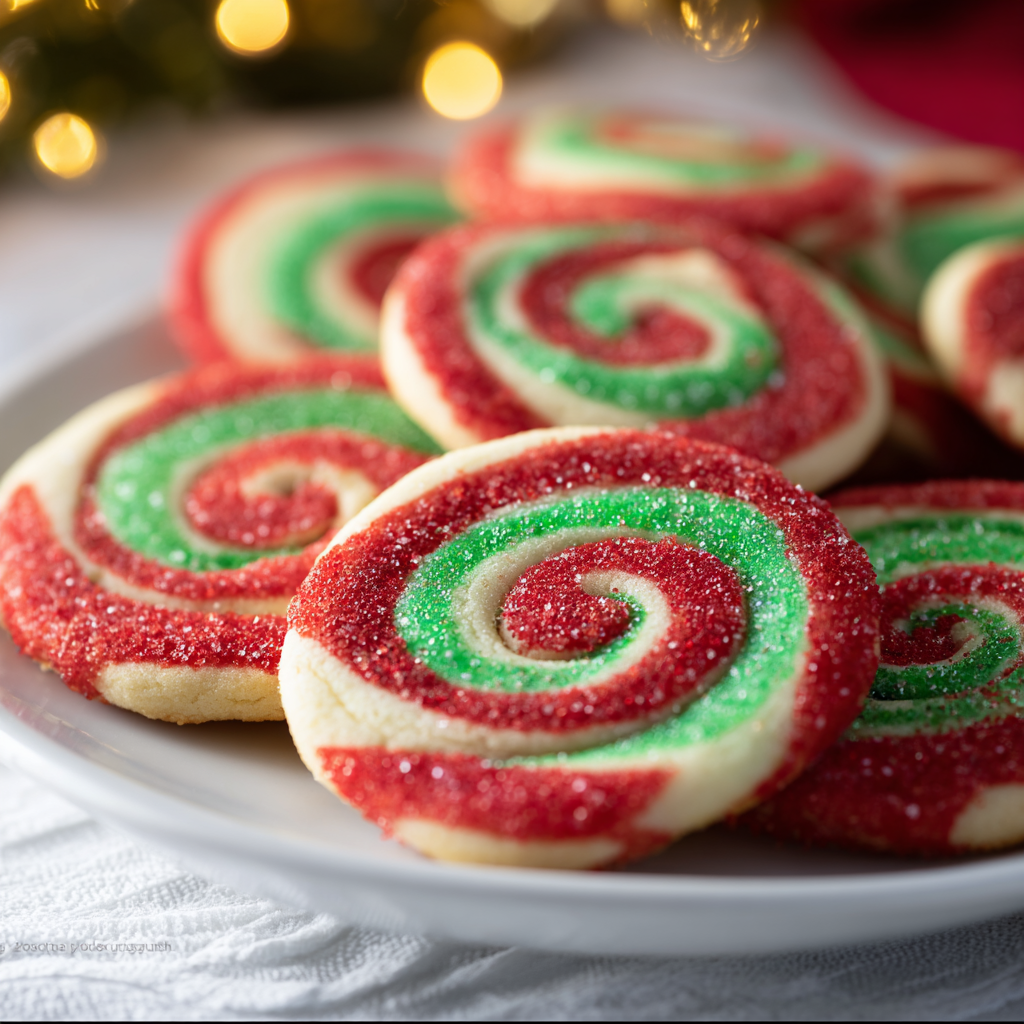
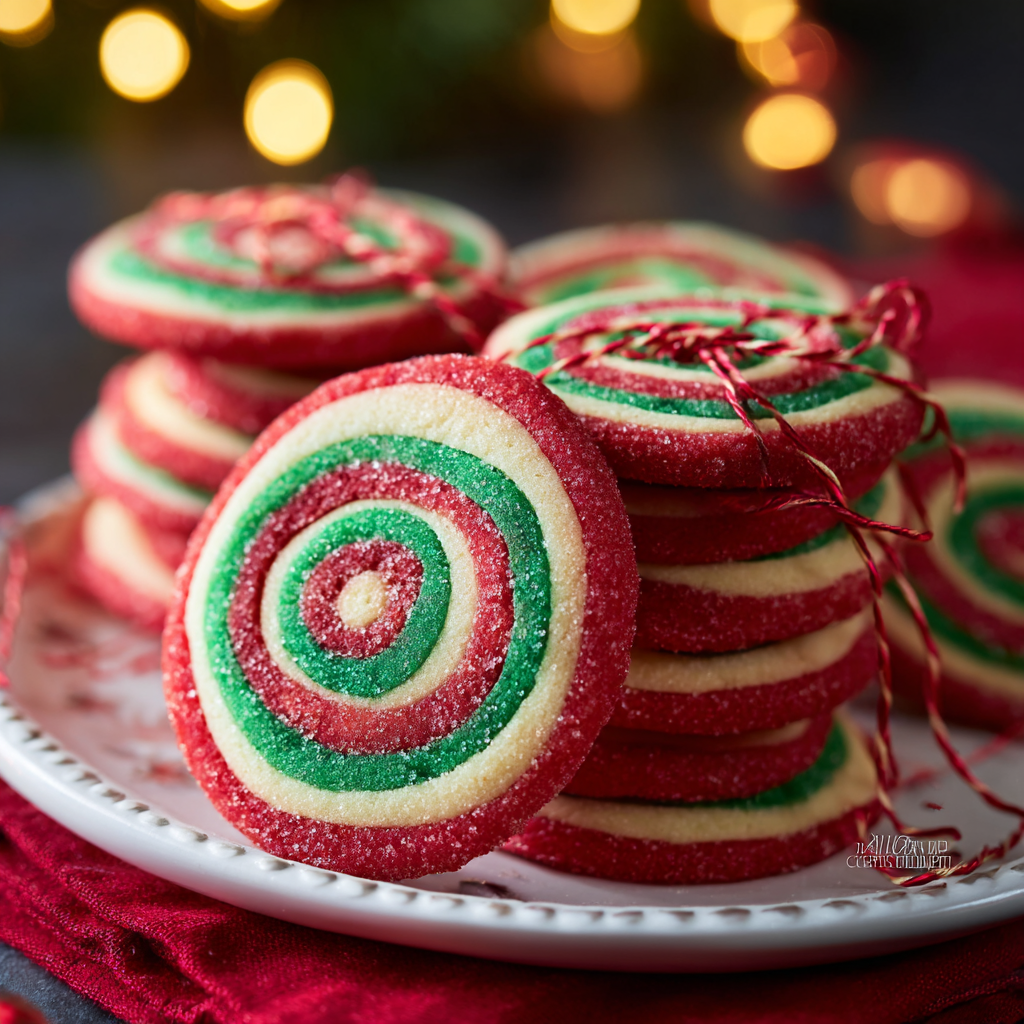
Christmas Pinwheel Cookies

Festive red, green, and vanilla pinwheel cookies—buttery, tender rounds rolled into spirals and finished with sparkling sanding sugar. A holiday classic that’s as fun to make as it is to eat.
This holiday swirl of colors—soft, buttery pinwheel cookies—has been part of my winter baking rotation for as long as I can remember. I first learned this method at a cookie swap hosted by a neighbor who insisted that the secret to perfect spirals was patience: chilling between every major step. That extra hour or two of waiting is rewarded with uniform slices that keep their shape in the oven, yielding cookies that are tender, slightly crisp at the edges, and melt-in-your-mouth in the center. The combination of a rich vanilla dough with bright red and green layers always brings a little gasp around the table when I unwrap the platter.
What makes these rounds especially memorable is how tactile the process feels—rolling three colors into flat squares, stacking them like a sandwich, then coaxing them into a tight log. My kids love helping with the final dusting of sanding sugar, and last year my eldest carefully counted out each cookie to make sure there were exactly as many as Santa needed. The texture is delicate: a buttery crumb that still holds a defined edge, with a hint of chew from the slight caramelization of the sugar during baking. They’re sturdy enough to package for gifts yet tender enough to disappear in seconds at a party.
Why You'll Love This Recipe
- Visually festive: three contrasting layers create classic red-green-white spirals that look impressive but are simple to make with basic tools.
- Make-ahead friendly: dough can be prepared and chilled in stages, then frozen for up to a month—perfect for holiday schedules and cookie exchanges.
- Kid-approved activity: safe, hands-on steps like rolling and dusting let children participate and feel proud of the finished treats.
- Pantry-accessible ingredients: uses staple items—butter, sugar, flour, egg, vanilla—and small amounts of gel coloring and sanding sugar for seasonal flair.
- Quick baking time: slices bake in just 8–10 minutes, so batches come together fast once the dough is ready.
From my first attempt to the cookie platters I bring to potlucks now, this method has consistently produced reliable results. Neighbors and family members often ask for the recipe because the cookies travel well and keep their shape during transport. I love that they can be trimmed slightly for uniform presentation, making them ideal for gift tins and trays.
Ingredients
- Unsalted butter (2/3 cup): Use high-quality butter (I like Plugrá or Kerrygold for their creamy, slightly tangy flavor). Soften to room temperature but not melty—about 65–70°F—so it creams properly with the sugar.
- Sugar (2/3 cup): Granulated sugar tenderizes the dough and helps edges caramelize. Measure by spooning into the cup and leveling for accuracy.
- Egg (1 large): Adds richness and structure. Let it come to room temperature to incorporate more smoothly into the butter.
- Vanilla extract (1 teaspoon): Pure vanilla provides depth; avoid imitation if you can—it’s noticeable in such a simple dough.
- All-purpose flour (1 3/4 cups): Provides structure. Spoon and level for an accurate measure—too much flour will make the dough dry and tough.
- Kosher salt (1/2 teaspoon): Balances sweetness and highlights butter flavor. If using table salt, reduce to 1/4 teaspoon.
- Baking soda (1/4 teaspoon): A small lift to keep the cookies tender without spreading.
- Red & green gel food coloring: Gel paste is best because it colors without adding liquid. AmeriColor or McCormick gels work well.
- Red sanding sugar: For garnish—adds sparkle and a slight crunch on the outside of each slice.
Instructions
Cream the butter and sugar: Place the softened butter and granulated sugar in the bowl of a stand mixer fitted with the paddle. Beat at medium speed for 3–4 minutes until light and creamy. Scrape down the bowl frequently to ensure even creaming; you want a pale, aerated mixture but not whipped to ribbon stage. Add egg and vanilla: With the mixer on low, add the egg and vanilla and mix until fully incorporated. The mixture should look glossy and cohesive—if it appears separated, scrape the bowl and beat a few seconds more to combine. Combine dry ingredients and mix: Whisk the flour, kosher salt, and baking soda in a medium bowl. With the mixer on low, gradually add the dry mix to the butter mixture until just combined—avoid overmixing or the dough will become tough. The dough should be soft, slightly tacky, and hold together when pressed. Divide and color the dough: Turn the dough onto a clean surface and divide into three even portions. Return one portion to the mixer bowl, add a few drops of red gel, and beat until uniformly colored. Repeat with a second portion and green gel; leave the third portion uncolored. Shape each into a ball, wrap tightly in plastic, and chill for 60 minutes to firm up. Roll each portion into squares: Working between two sheets of parchment, roll each chilled ball into approximately a 7-inch square. Keep the parchment on and chill the flattened dough for 15 minutes so it firms up and is easier to stack without slipping. Stack and roll into a log: Place the red square on a fresh piece of parchment, then the green, then the plain. Cover with parchment, and roll the stack gently into a 12×8-inch rectangle. Remove the top parchment, then starting from a long side, roll tightly into a log. Wrap the log in parchment and freeze for 1 hour to set the spiral. Slice and coat edges: Preheat the oven to 350°F and line baking sheets with parchment. Use a serrated knife to cut the chilled log into 1/3-inch slices—wipe the knife clean between cuts to keep edges neat. Roll each cookie edge in the red sanding sugar for a festive rim. Bake and cool: Arrange cookies 1 inch apart on sheets and bake 8–10 minutes until just set and the bottoms are lightly golden. Let cool on the baking sheet for 1 minute, then transfer to a wire rack to cool completely before storing.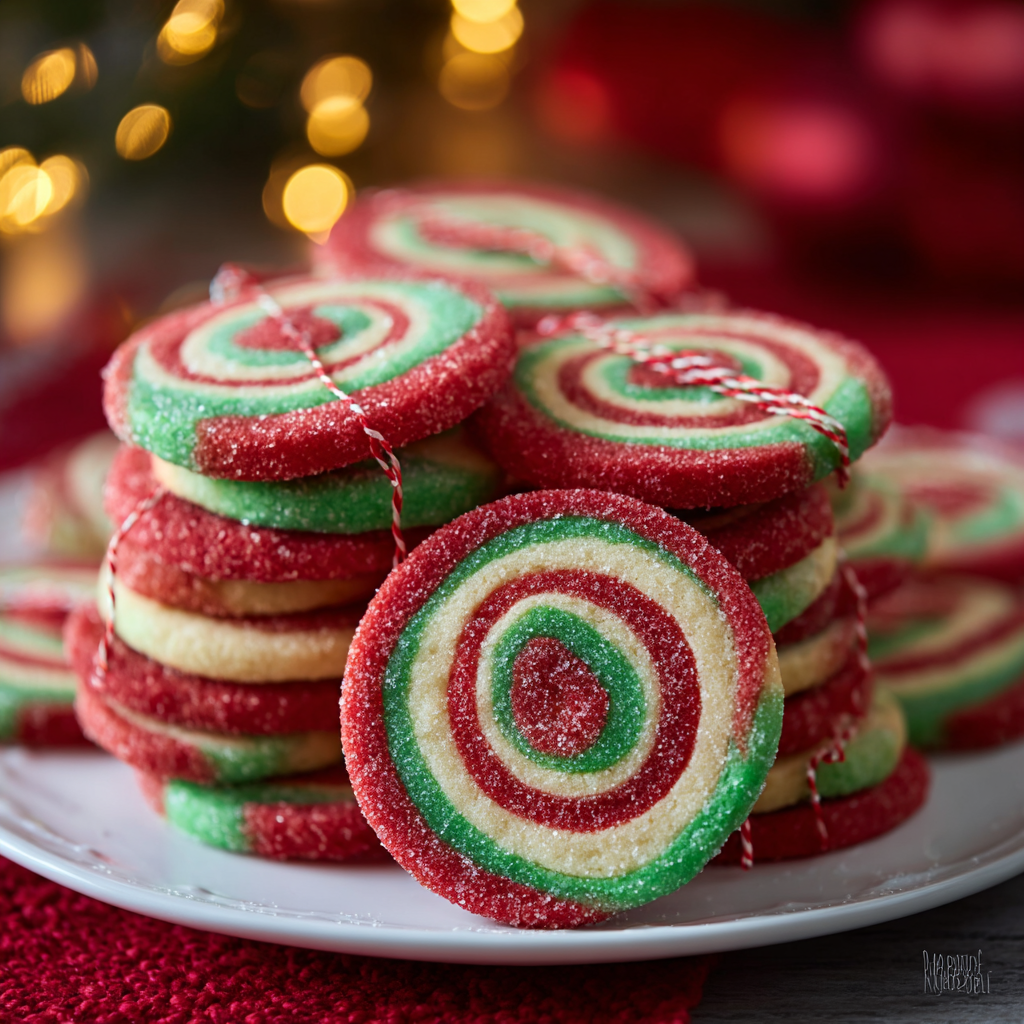
You Must Know
- These rounds freeze well: wrap the log tightly and freeze up to 1 month before slicing and baking.
- High in butter: rich and tender—store in an airtight container at room temperature for up to 1 week or freeze for longer storage.
- Make uniform slices by chilling the log thoroughly; partially frozen logs slice cleaner with less smearing.
- Yield is approximately 36 cookies when sliced 1/3-inch thick from a 12-inch log.
My favorite part is how reliably these hold their spiral after baking—if you chill between steps and use gel color, you’ll get strong, separate layers. I once skipped the short chill and ended up with a slightly flattened swirl; lesson learned: patience yields prettier cookies and neater packaging for gifts.
Storage Tips
Store completely cooled rounds in an airtight tin layered with parchment to prevent sticking and maintain crisp edges. At room temperature they keep well for up to 7 days. For longer storage, place stacked cookies in a freezer-safe container with parchment between layers and freeze for up to 3 months. To thaw, slide cookies onto a plate and leave at room temperature 30–60 minutes—if you want the sparkle back, briefly brush edges with a tiny amount of corn syrup and re-roll in sanding sugar then let set.
Ingredient Substitutions
If you need dairy-free options, replace butter with a 1:1 vegan baking stick and use a flax “egg” (1 tablespoon ground flax + 3 tablespoons water yields similar binding, though texture will be slightly denser). For a gluten-free version, substitute an all-purpose gluten-free blend that contains xanthan gum and weigh for best results—expect a slightly more crumbly texture. You can swap sanding sugar for finely chopped colored sprinkles or omit color entirely and add a teaspoon of almond extract for a different aroma.
Serving Suggestions
Serve on a festive platter with a mix of hot cocoa, spiced tea, or mulled cider. For gift tins, alternate the rounds with shortbread shapes to offer variety. Garnish the serving tray with rosemary sprigs or cinnamon sticks for holiday aroma and contrast. These make a lovely accent next to frosted sugar cookies or cut-out gingerbread for a visually appealing cookie exchange assortment.
Cultural Background
Spiral-style baked goods have long been part of European baking traditions—think of rolled pastries and filled pinwheels. The modern colored cookie spiral became popular in mid-20th century America as food coloring and convenience baking grew. Layering contrasting doughs and rolling them into a log is a technique borrowed from laminated and rolled pastries, adapted here for a straight-forward, accessible method that gives a striking visual result with minimal technical skill.
Seasonal Adaptations
For a winter citrus twist, add 1 teaspoon finely grated orange zest to the plain dough and brush the baked cookies with a thin orange glaze. For Christmas cookies with peppermint notes, replace vanilla with 1/2 teaspoon peppermint extract and use crushed candy cane as the edge garnish. In spring, switch to pastels—light pink and pale yellow—for Easter celebrations using the exact same technique.
Meal Prep Tips
Prepare the dough up to two days ahead and keep each colored portion wrapped in the refrigerator; stack and roll the log on the day you plan to bake. Alternatively, freeze the wrapped log and slice directly from frozen—this reduces smear and speeds production when you need several dozen cookies for a party. Use a ruler to mark the parchment with 1/3-inch increments to achieve consistent slices quickly.
These spirals are one of those dependable holiday treats that combine showstopping looks with simple ingredients and techniques. Share them with friends, tuck them into tins for teachers, or build a centerpiece cookie platter—either way, they bring color and warmth to any celebration.
Pro Tips
Use gel food coloring to avoid changing dough consistency with extra liquid.
Chill the dough and the log thoroughly before slicing to maintain clean spirals.
Wipe the serrated knife between cuts to keep slice edges tidy and prevent color transfer.
Weigh or spoon-and-level flour to avoid a dry, crumbly dough.
Roll the stack gently and tightly to minimize air pockets that can cause splitting when slicing.
This nourishing christmas pinwheel cookies recipe is sure to be a staple in your kitchen. Enjoy every moist, high protein slice — it is perfect for breakfast or as a wholesome snack any time.
FAQs about Recipes
Can I make the log ahead and freeze it?
Yes. Wrap the log tightly in parchment and place in a freezer bag. Freeze for up to 1 month. Slice and bake from frozen, adding an extra 1–2 minutes if needed.
Tags
Christmas Pinwheel Cookies
This Christmas Pinwheel Cookies recipe makes perfectly juicy, tender, and flavorful steak every time! Serve with potatoes and a side salad for an unforgettable dinner in under 30 minutes.
Instructions
Cream butter and sugar
Place softened butter and sugar in the bowl of a stand mixer with the paddle attachment. Beat at medium speed for 3–4 minutes until pale and creamy, scraping the bowl as needed.
Add egg and vanilla
With the mixer on low, add the egg and vanilla extract. Mix until glossy and fully incorporated, scraping the bowl to ensure even texture.
Mix dry ingredients
Whisk the flour, kosher salt, and baking soda in a separate bowl. Add to the mixer slowly on low and mix until just combined to avoid developing gluten.
Divide and color
Turn the dough out and divide into three even pieces. Color one portion red and one portion green using gel coloring; leave the third plain. Shape into balls, wrap, and chill for 60 minutes.
Roll into squares
Roll each portion between parchment sheets into 7-inch squares. Chill the flattened squares for 15 minutes to firm before stacking.
Stack and roll log
Stack red, green, and plain squares on parchment. Roll into a 12×8-inch rectangle, remove top parchment, then roll tightly into a log from a long side. Wrap and freeze for 1 hour.
Slice and sugar the edges
Preheat oven to 350°F. Use a serrated knife to slice the chilled log into 1/3-inch slices, roll edges in red sanding sugar, and place on parchment-lined sheets 1 inch apart.
Bake and cool
Bake 8–10 minutes until set. Cool on the baking sheet 1 minute, then transfer to a wire rack to cool completely before storing in an airtight container.
Last Step: Please leave a rating and comment letting us know how you liked this recipe! This helps our business to thrive and continue providing free, high-quality recipes for you.
Nutrition
Did You Make This?
Leave a comment & rating below or tag
@flavordaisy on social media!
Categories:
You might also like...
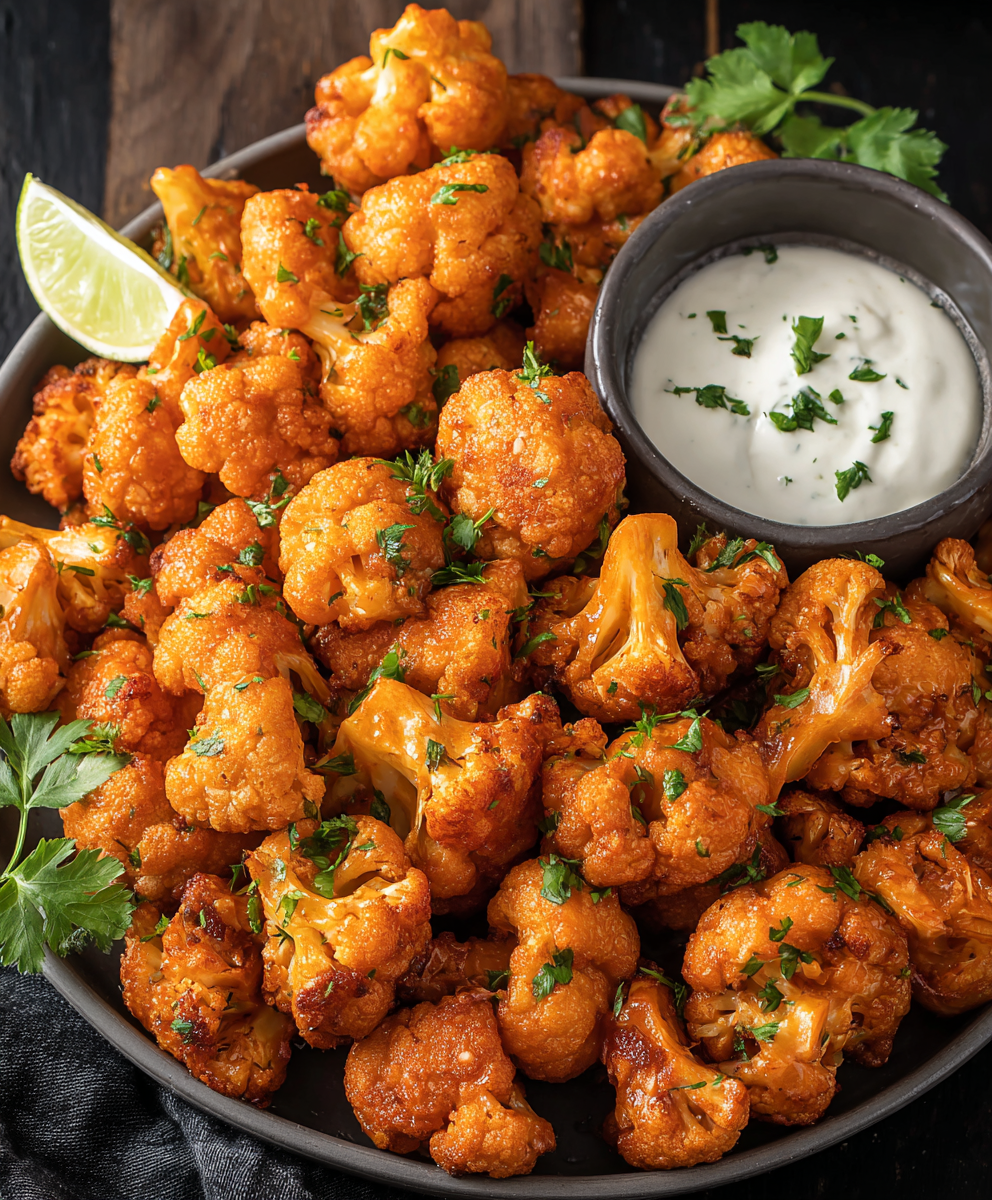
Air Fryer Buffalo Cauliflower
Crispy battered cauliflower tossed in tangy Buffalo sauce — a spicy, vegetarian party favorite that's easy to make in the air fryer.
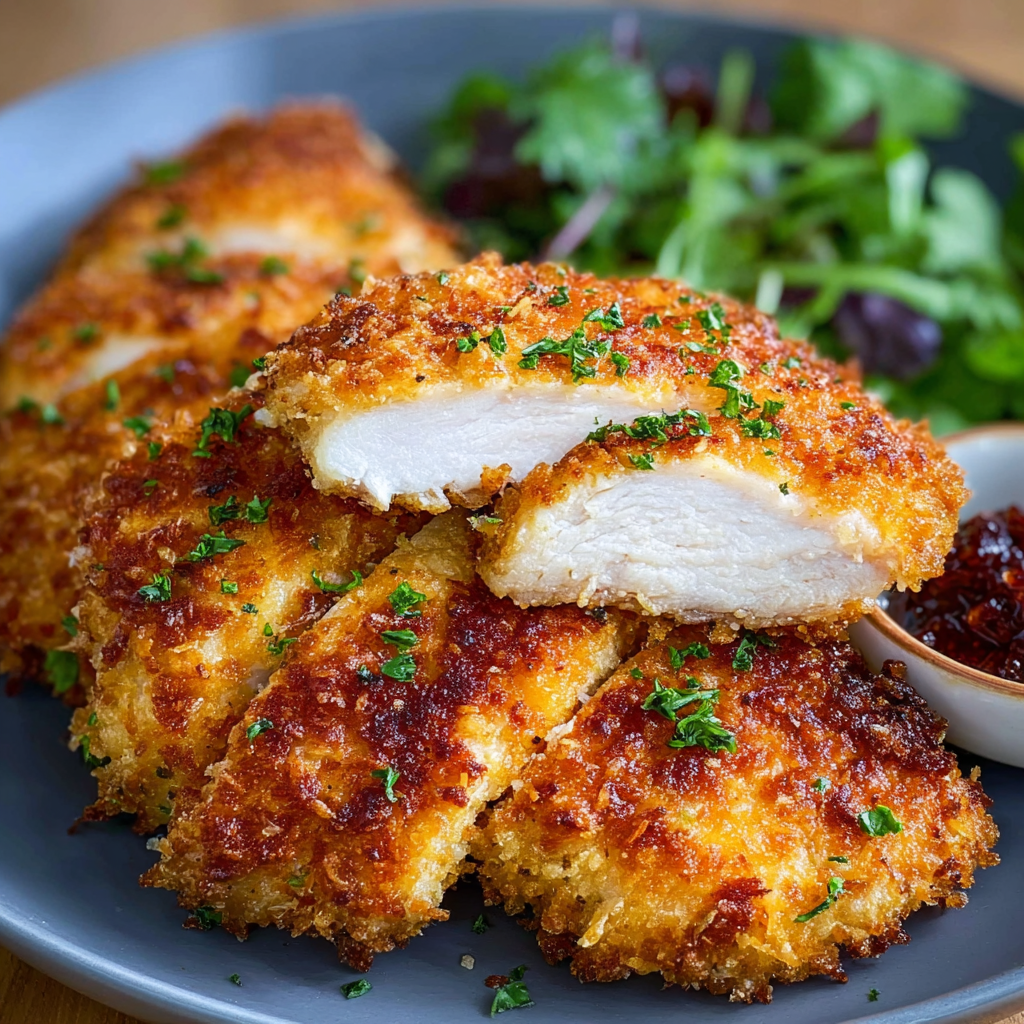
Air Fryer Parmesan Crusted Chicken
Crispy, golden air fryer chicken coated in a crunchy Parmesan-panko crust — a quick, family-friendly dinner that's juicy inside and perfectly seasoned.
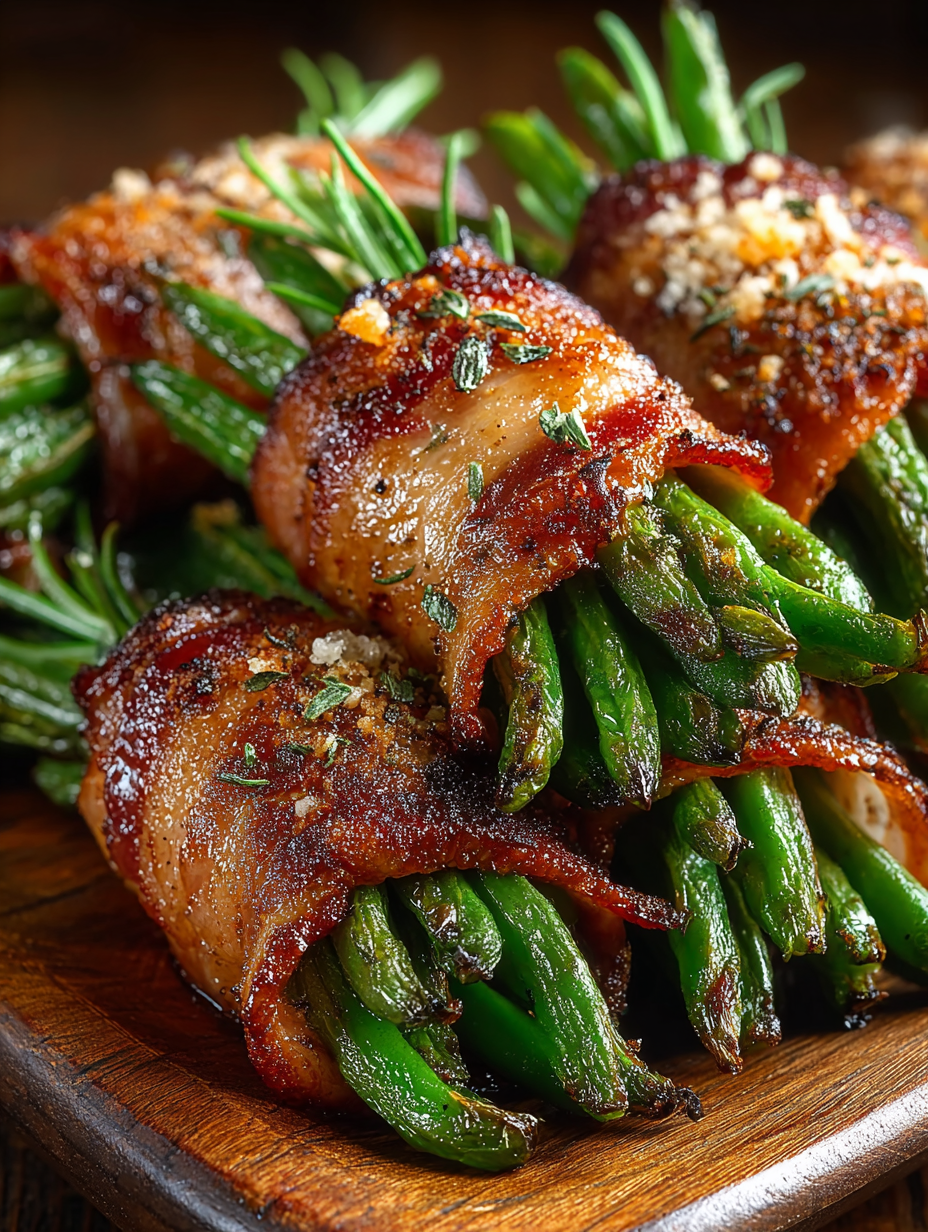
Bacon Wrapped Green Bean Bundles
Crisp tender green beans wrapped in savory bacon and finished with an optional sweet soy glaze. Perfect for parties and holiday spreads.
Did You Make This?
Leave a comment & rating below or tag @flavordaisy on social media!
Rate This Recipe
Share This Recipe
Enjoyed this recipe? Share it with friends and family, and don't forget to leave a review!
Comments (1)
This recipe looks amazing! Can't wait to try it.
Comments are stored locally in your browser. Server comments are displayed alongside your local comments.

Hi, I'm Chef!
What's Popular
30-Minute Meals!
Join to receive our email series which contains a round-up of some of our quick and easy family favorite recipes.